QuickBooks Desktop is an essential tool for managing your business's finances, keeping all your critical documents organized and secure. This powerful accounting software simplifies tasks like generating tax slips, tracking transactions, and creating paychecks. It also offers robust security features and controls user access.
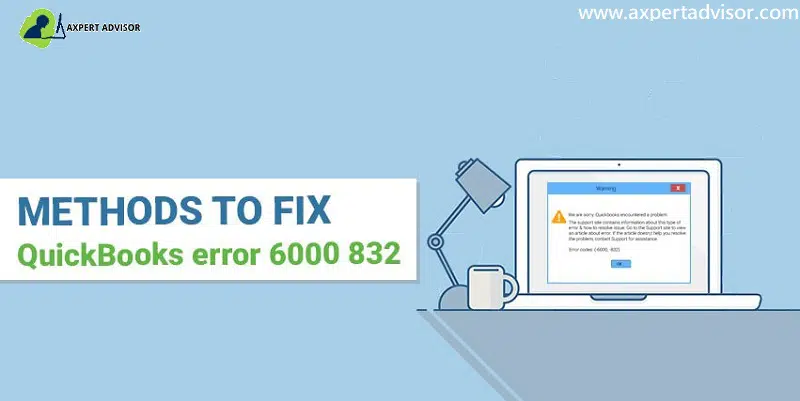
However, encountering an error can disrupt your workflow. The QuickBooks Error 6000, 832 infers that the error belongs to the 6000 series. One common issue is QuickBooks Error 6000, 832, which typically occurs when a company file on your server becomes damaged or when there's an issue with the .nd file during hosting. This error is particularly prevalent when you're trying to access your company data from a server or computer not properly connected to your network.

If you're experiencing this frustrating QuickBooks Desktop error, don't worry! Our team of experts is ready to assist you.
Need immediate support? Dial our toll-free number at 1-888-368-8874 for quick and reliable solutions. We'll help you get your QuickBooks desktop application back on track!
Easy Steps to Fix the QuickBooks Error 6000 832
If a user knows how to operate a computer system, and is good at following a set of instructions, they can easily fix the issue yourself. Hence, let us look at the steps which if you have a general understanding of computer systems and you can easily follow a set of steps, you can easily resolve these errors yourself. Therefore, let us understand how can we resolve QuickBooks errors 6000 and 832.
Step 1: Download the QuickBooks File Doctor
The best way to fix any QuickBooks error 6000 832 is to download the QuickBooks file doctor tool, which will automatically update the file on the server. It will also help in repairing the damaged file, by restoring the previous version of the file, before it was damaged, and fix this error. Make sure that you are using the updated version of QuickBooks Desktop.
Note: You can download the file doctor tool using QuickBooks tool hub program.
Step 2: Renaming .nd and .tlg Files

After you have downloaded the latest version of QuickBooks file doctor tool and updated the QuickBooks desktop itself. The next step is to rename the .nd files and the .tlg files.
- Advance to the folder that has all the files of the company.
- Filter your search for .tlg and .nd file extensions.
- Alter the names of all the files with the above extensions. And remember to indicate clearly that these files are of the prior version.
Step 3: Trigger the Sample File of the Company
After the renaming has been done, you have to trigger a sample file to start the general processing of the application.
- Go to “No Company Open”, and double click to open it.
- Select the “Open a Sample File” option.
- A list of files will appear on the screen. Choose a sample file and open it.

Step 4: Transfer the QuickBooks File to the Desktop
Now, you have to transfer the QuickBooks files to the desktop. Follow the following steps to copy the files.
- Go to the folder where all the files of the company are stored, and open it.
- Filter the search with, .QBW extension. A list of files will appear.
- Select all the files on the screen, and press Ctrl+C keys on the keyboard to copy them.
- Go to the desktop, paste (Ctrl+V) keys all the files.
- Now on your keyboard, hold the control key, and the No Company Open window of the QuickBooks Desktop will open.

- Choose Open or restore an existing company.

- Now go to the desktop and open the file which you had previously copied.
Step 5: Turn Off Hosting
It is very important to switch off hosting on every system.
- On the keyboard press the F2 button. A tab will appear which will have all the information about the product.
- Search for “Local Server Information”, and open it.

- Make sure that the Hosting is switched off.
Step 6: Close All Recurring Windows, and Sign in as Administrator

Close all the recurring tabs and sign in again as an Administrator.
- Go to task manager, Select QuickBooks, End task.
- Now open it again as the administrator, and log in as multi-user mode.
- Lastly open the QuickBooks file.
Step 7: Permit the Folder
After you have successfully logged in as a multi-user, give folder permissions.
- Select the folder that has all the company files and right-click the mouse button.
- Go to the Security tab, select Advanced.
- Select QBDataServiceUserXx. And then select Edit.

- Make sure all the permissions are allowed.
Step 8: Ensure Hosting Mode of All Workstations if Off

The accounting software, QuickBooks recommends that only one system should host the QB company files, and hosting should be turned off for other systems. Press F2 key in order to open the window which has the information about the product. Check the local server information and make sure that hosting is turned off for all workstations. Once you have applied this solution, check if QuickBooks error -6000, -832 is still there.
Step 9: Rename Files and Restart QuickBooks Database Server Manager and Then, Rescan

It is known to every QuickBooks user that QuickBooks uses .ND and .TLG configuration files in a network so as to access the company file. If the .ND or .TLG file is damaged or corrupted, then this can cause QuickBooks Error -6000, -832. However, if you rename these files, then the data is not lost. When the user rescans using the QuickBooks Database Server Manager, and opens QB company file, then .ND and .TLG configuration files are automatically created.
- Open the folder where QB company files is stored.
- Find files having same name as that of your company file, but have .ND and .TLG as files extensions.
- Right click on the .ND file, and select ‘rename’ from the list.

- Type ‘OLD’ at the end of company file name and press ‘Enter‘ key. Now, your new company file will be ‘qbw.nd.OLD‘.
- Right click on .TLG file and rename it by typing ‘OLD‘ at the end. Press ‘Enter‘ key.
Aim of QuickBooks Database Server Manager (QBDBSM) is to host the QB company files. Once have renamed the files, then restart the Database Server Manager and rescan the QuickBooks files.
- Firstly hit on Start and Go to All Programs.
- Find QuickBooks and open QBDBSM.
- Select Scan Folders.
- When no folder is present, then Add folder, else choose the folder that has files.
- Press Scan and confirm that QB company file appears in the bottom box which means files have been located.
- Open the file and then open QuickBooks and sign in to company file.
If QuickBooks error 6000 832 still occurs, then take the next step.
Step 10: End QuickBooks Processes
- Log on to Server Computer as an Admin
- Press Ctrl, Shift and Esc keys simultaneously
- After this, task manager window will appear
- Close Users Tab and all users’ processes will display
- Find QuickBooks processes- QBW32.EXE, qbupdate.exe, and QBDBMgr.exe.

- Highlight the processes above and click on End Task option.
- Open QB Company file in multi-user mode.
What are the Possible Causes of QuickBooks Error 6000 -832?
Plausible causes behind this error include the following:
- When QuickBooks user tries to convert company file to the latest version.
- QuickBooks installation files are missing.
- Permissions for the network server are not sufficient.
- QuickBooks files are being blocked by the firewall.
- The shared folder or company file is damaged.
- The company file is being hosted by more than one workstation.
- Non-US or non-Canadian version of Windows is being used.
- Maybe the file extension is .qbm or .qbw.adr.
Final Words..!
The QuickBooks Desktop error 6000 832 will be resolved after you have successfully followed all the steps given above. However, if you are still facing issues, dial our toll-free i.e. 1-888-368-8874, and our QuickBooks error support team of experts that specialize in the field of QuickBooks will help you immediately.
Suggested Reads:
