Whenever you feel your software is working great, you might come across some typical error in QuickBooks accounting software. In this segment, we will be discussing the steps involved in shunning the QuickBooks error code 41. It is basically a PDF converter activation error which is usually seen when QuickBooks uses an older version of the print driver activation code, for newer version of driver.
You might face QuickBooks error code 41 if the integrated QuickBooks PDF converter or the driver licensed by QuickBooks is in use. This sort of issue can be quite annoying for you to handle. To get a better insight into this error, make sure that you stick around till the end.
What Leads to QuickBooks Error 41?
Well, there can be a handful of assorted triggers to the QuickBooks error 41, all of which we have listed below. Scroll down to find out the root causes of this error.
- This particular error could be seen due to the blue screen of death error when working on QuickBooks.
- If the system is performing quite slowly.
- Another reason can be if when the installation of QuickBooks desktop on the working system is facing any kind of difficulty.
- You might also face this sort of error if any kind of windows updating issue appears.
- If QuickBooks crashes or freezes for some time.
- In case the QB software shuts down automatically.
- In case you have opened up multiple applications at the same time on the system.
You may read also: How to resolve the QuickBooks error code 6190?
Methods You can Fix the QuickBooks Error Code 41
You can perform any of the below set of steps, so as to fix the QuickBooks error 41. Let us have a look:
Method 1: Uninstall and Reinstall the USB Composite Device
- Start with advancing to the Start menu. Thereafter, open the Run window using the Win + R keys.
- Furthermore, add ‘devmgmt.msc‘ in the Run window and hit the enter tab.

- You further need to hit on the Plus sign.
- And opt for the USB composite device.
- Heading forward, opt for the Uninstall option and hit OK tab.
- Reconnect the USB cable with the PC.
- You need to follow the directives for installing the drivers:
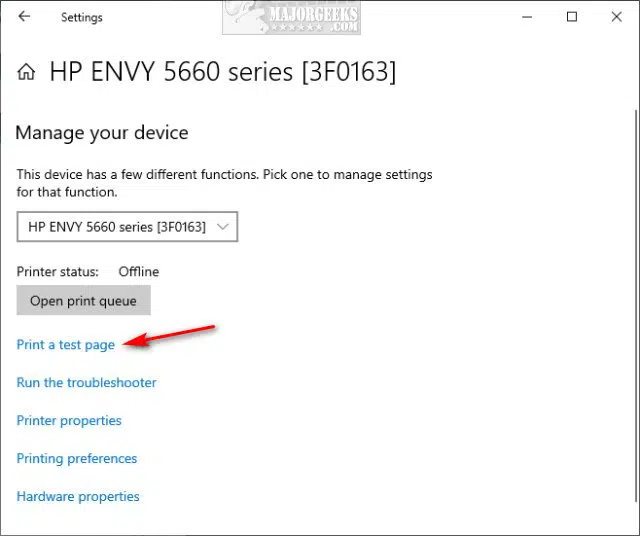
- You would have to right-click the Printer tab.
- And choose the Print test page for printing a windows self test page.
- End the process by shutting down all the windows opened on the system screen.
Method 2: Disable the Services From the Startup
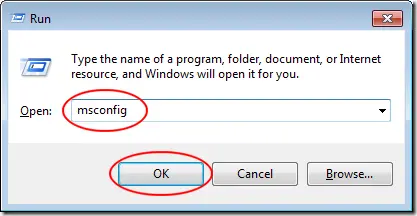
- Under this method, you would have to hit the Start tab and type in ‘MSConfig’ in the open box.
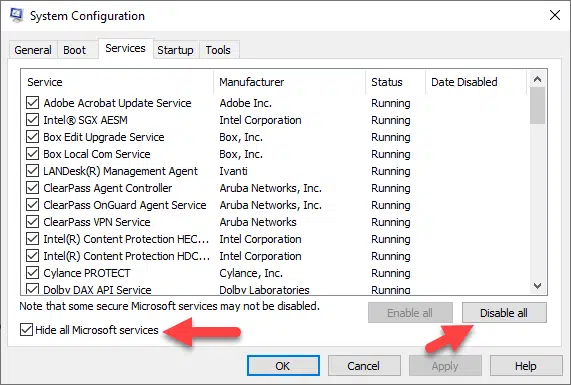
- Furthermore, choose the Disable all tab.
- Open the Startup tab and pick the Disable all and OK option.
- This will need to reboot the system.
- Just in case the System configuration utility option appears on the screen, then you would have to authenticate the don’t show message or start the system configuration utility.
- Hit the OK tab.
- Reopen the QuickBooks software to confirm that error code 41 is fixed.
Read Also: How to Resolve QuickBooks Error 1601, 1603 and 1642?
Method 3: Reset the Temp Folder Permissions
Step 1: Reset the Temp Folder Permissions
- You would have to press Windows + R, which would open up the Run window on the screen.
- Type in TEMP and hit Enter tab.

- You then need to right-click the empty area of the temp folder and opt for the Properties tab.
- Choose the Security tab.
- You will have to ensure that all the Usernames and groups on the security tab have Full control.

- Lastly, save it as a PDF again within QuickBooks, after the permissions have been set up to Full control.
Step 2: Verify Print to The XPS
- Under this, you need to open up the notepad.
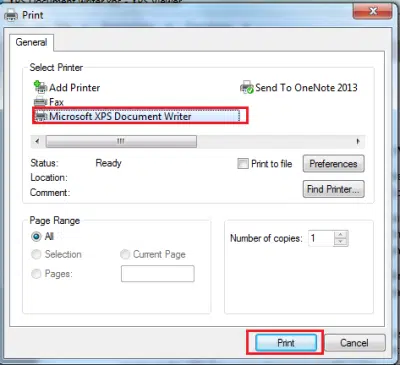
- And then, enter in test by selecting the file and opting for Print option.
- You need to select the XPS document writer and hit the Print tab.
- Type a Filename and save it to the desktop.
- Move to the desktop and then see the XPS document that has been printed from the notepad.
Method 4: QuickBooks Print and PDF Repair Tool
Step 1: Download and Install the QuickBooks Tool Hub
- Under this process, you need to close QuickBooks software.
- Download the QuickBooks tool hub file, by saving the files somewhere.
- You need to open the file downloaded.
- You are then required to carry out the on-screen prompts, so as to install and Agree to the terms and conditions.
- Double click the Icon on the Windows desktop to open the QuickBooks tool hub, when install finishes.
Step 2: Run PDF and Print Repair Tool From QuickBooks Tool Hub
- You are supposed to select Program problems option in tool hub.
- And further, head for QuickBooks PDF and print repair tool. This will take a couple of minutes.

- Now you need to try to Print, email or save as a PDF from QuickBooks desktop.
See Also: How to Resolve QuickBooks Error H505 (Multi-User Issue)?
Method 5: Restart the System
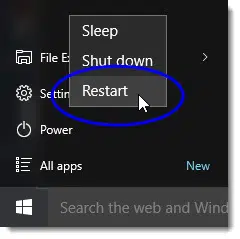
- Tap on the Start tab or press the Windows key.
- Afterward, hit on the Arrow next to the Shutdown tab.
- Choose the Restart tab and you are done.
- Sometimes a simple restart can rectify huge errors.
Method 6: Download and Install Fix Tool
- You need to Download and install the fix tool on the system.
- Furthermore, choose the Scan tab.
- Hit on Repair after the completion of the scanning process.
- Reboot the software.
Method 7: Configure Printing Permissions
- Initially, advance to the Printer control panel.
- Then, make a right-click on the Microsoft XPS record to access it.
- Opt for the Houses (or printer houses) option.
- Pick ‘Everyone user institution’ in the Security tab.
- If the item isn’t in the list, proceed as follows:
- Opt for Add choice and include ‘Absolutely everyone’ in the field.
- Pick ‘Have a look at names‘ & ‘Test names.’
- Subsequently, opt for Print in the ‘Permit’ column, afterward choose ‘Sufficient.’
- After following the previous steps, head to Windows Explorer and provide the following command ‘c: WindowsSystem 32 spool.‘
- Now, go to Printers, followed by Properties.
- Pick the Security option and then move to the Edit tab. Choose Add option.
- Now, you can add the local carrier and verify that local services are possessing Full control.
- Then, choose Sufficient option.
- Finally, in QuickBooks, make a PDF record.
- Check if the issue related to the Error code 41 got fixed
See Also: QuickBooks Install Diagnostic Tool – Install & Fix Errors
Closing up!
That was all you need to learn about QuickBooks error code 41, so as to get rid of the PDF Converter Activation Error. As always, for any queries, comments, or concerns, call us immediately via our helpline i.e., 1-800-615-2347. We are a hub of technocrats, who work round the clock to provide the best QuickBooks error support services. So, do not hesitate in calling us anytime and seeking for assistance!
Related Topics:
How To Fix View My Paycheck Not Working Issue?